Choosing the Right Reflective Vinyl
Types of Reflective Vinyl
1. Standard Reflective Vinyl
– This type is suitable for most applications and is commonly used for safety gear, signage, and apparel.
2. Engineer Grade Reflective Vinyl
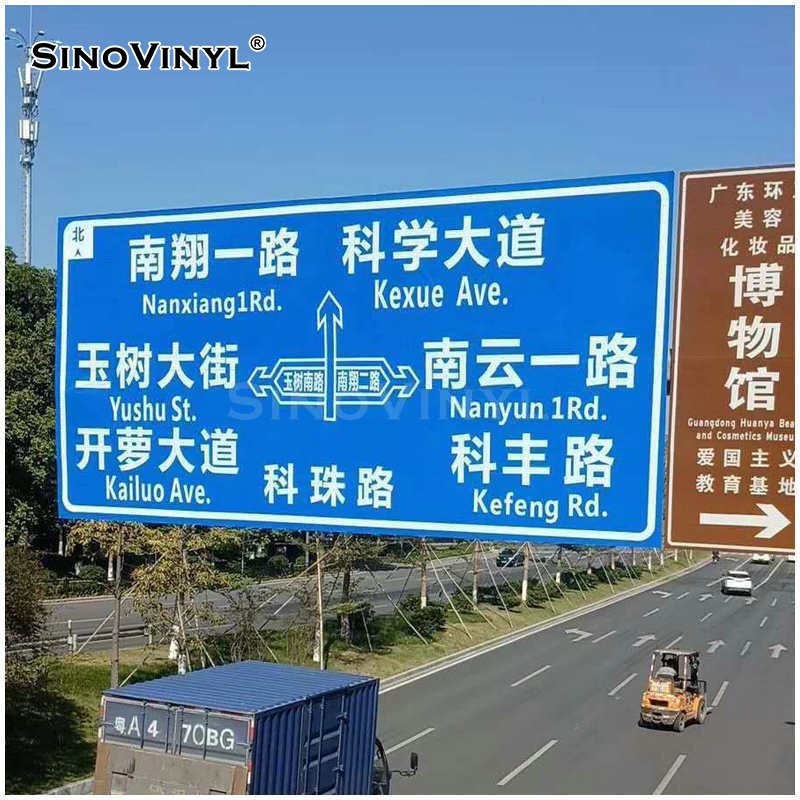
– Known for its durability and high visibility, engineer grade vinyl is often used for road signs and commercial applications.
3. High-Intensity Reflective Vinyl
– Offering superior brightness and visibility, high-intensity vinyl is ideal for high-risk areas and emergency signage.
4. Oralite Reflective Vinyl
– Recognized for its exceptional brightness and long-distance visibility, Oralite is a premium brand often used in professional applications.
Considerations for Selection
1. Intended Use
– Determine the purpose of your project. Is it for safety gear, signage, fashion, or something else?
2. Durability
– Consider factors like outdoor exposure, frequent handling, and washability.
3. Visibility Requirements
– Evaluate the level of visibility needed for your project. For high-traffic or critical safety applications, a higher-grade reflective vinyl might be necessary.
4. Budget
– Reflective vinyl comes in various price ranges. While premium brands may offer superior performance, standard options may be suitable for less demanding applications.
5. Compatibility with Fabric or Surface
– Ensure the chosen vinyl is compatible with the material you intend to apply it to. Some vinyl types may adhere better to certain fabrics or surfaces.
6. Brand Reputation
– Established brands often have a track record of quality and performance.


Tools and Supplies Needed
Here’s a breakdown of essential tools and optional equipment for working with reflective iron-on vinyl:
Essential Tools:
1. Cutting Machine:
– A quality cutting machine like a Cricut or Silhouette that can handle vinyl materials.
2. Reflective Iron-On Vinyl:
– Choose a high-quality reflective iron-on vinyl in the colors and finishes you desire for your project.
3. Weeding Tools:
– Weeding hook or tweezers for removing excess vinyl from the design.
4. Heat Press or Iron:
– A heat source to apply heat and pressure for adhering the vinyl to the fabric.
5. Protective Cover Sheet:
– Parchment paper or a Teflon sheet to protect the vinyl and fabric during the heat application process.
6. Teflon Sheet or Heat Transfer Pillow (Optional):
– These can help provide even pressure during the heat application process, especially for items with uneven surfaces.
Optional Tools for Precision and Ease of Use:
1. Vinyl Scraper or Brayer:
– Helps to smooth out the vinyl and ensure it adheres properly to the fabric.
2. Cutting Mat:
– Provides a stable surface for cutting the vinyl and helps protect your work area.
3. Precision Knife or Detail Scissors:
– Useful for making intricate cuts or adjustments to the vinyl design.
4. Heat-Resistant Tape:
– Helps to hold the design in place during the heat pressing process.
5. Multi-Use Paper (Non-Stick):
– Can be used as a cover sheet during the heat application process.
6. Measuring Tools:
– Ruler or measuring tape for accurate placement and sizing of the design.
7. Lint Roller:
– Ensures that the fabric is clean and free of any debris before applying the vinyl.
8. Spray Bottle with Water and a Drop of Dish Soap:
– Helps with positioning and adjusting the vinyl before it’s fully adhered.
9. Design Software (if not using pre-made designs):
– Software like Adobe Illustrator, Inkscape, or design programs specific to your cutting machine for creating custom designs.
Having these tools on hand will help you work with reflective iron-on vinyl more effectively and achieve professional-looking results. Remember to follow safety precautions when using heat-related tools, and always refer to the manufacturer’s instructions for your specific equipment.

