Introduction to printable reflective vinyl: What is it and why is it unique?
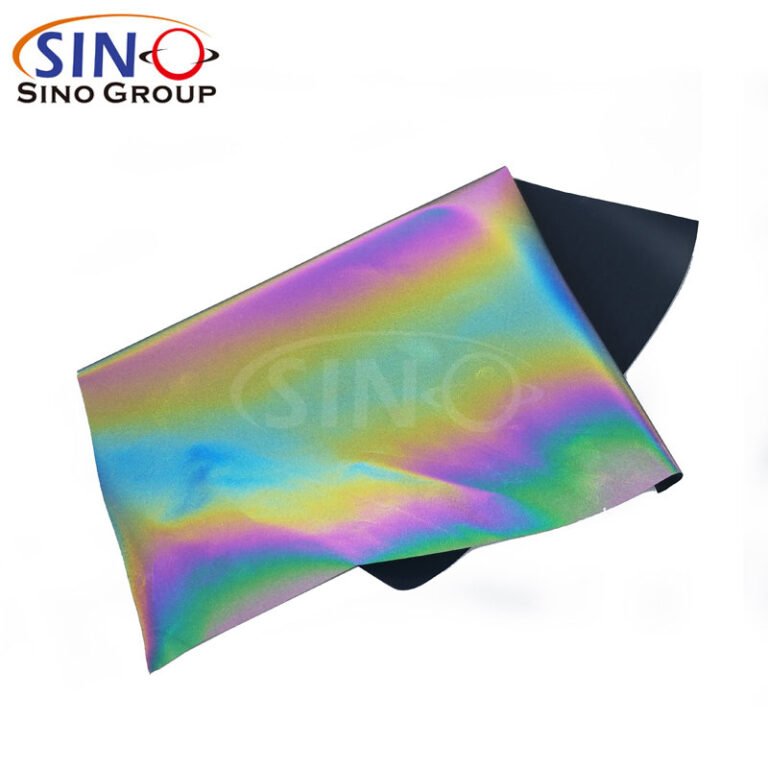
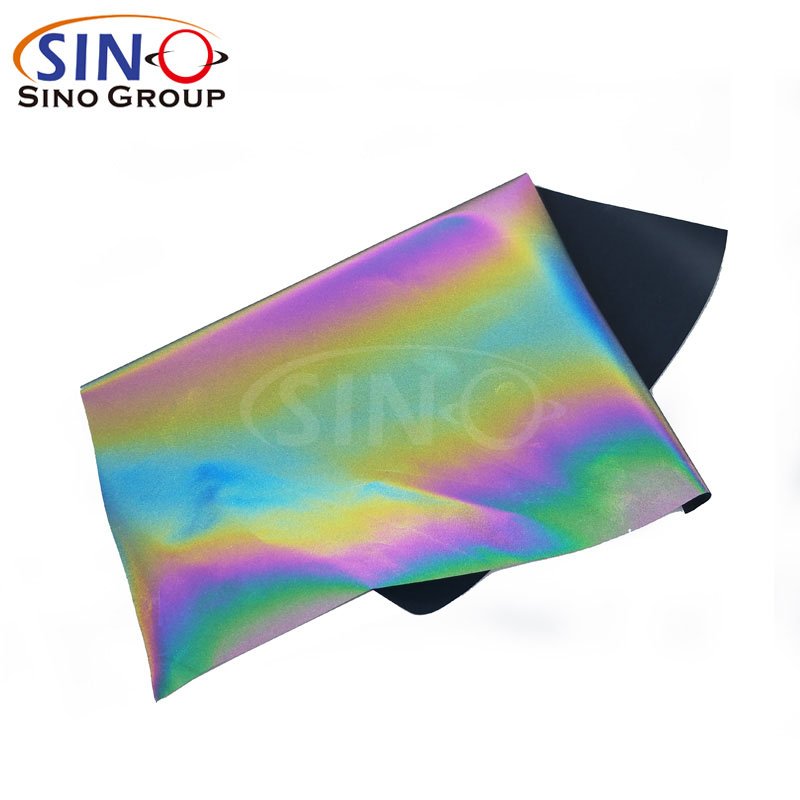
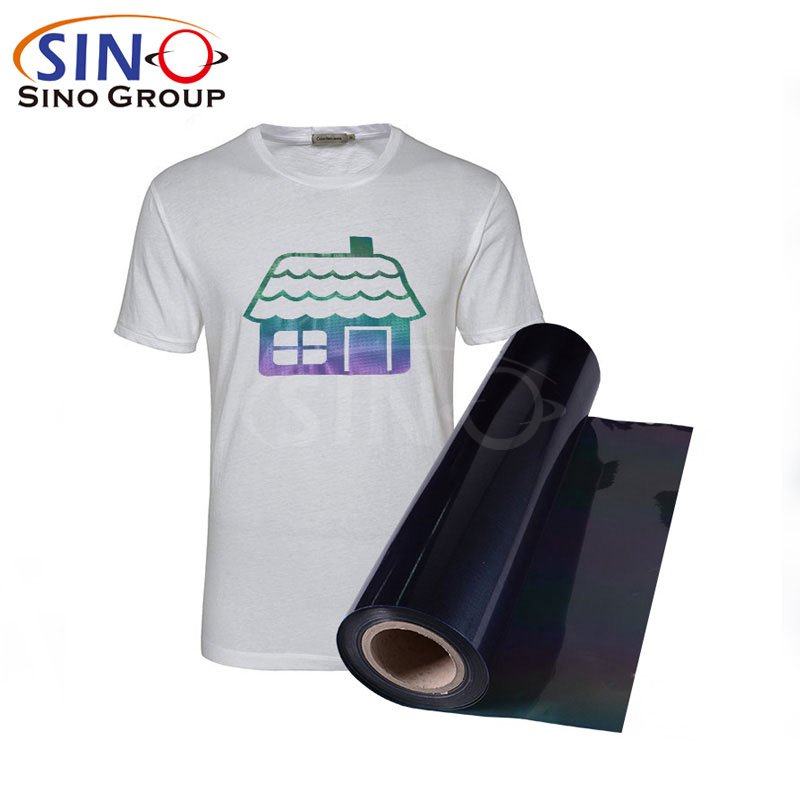
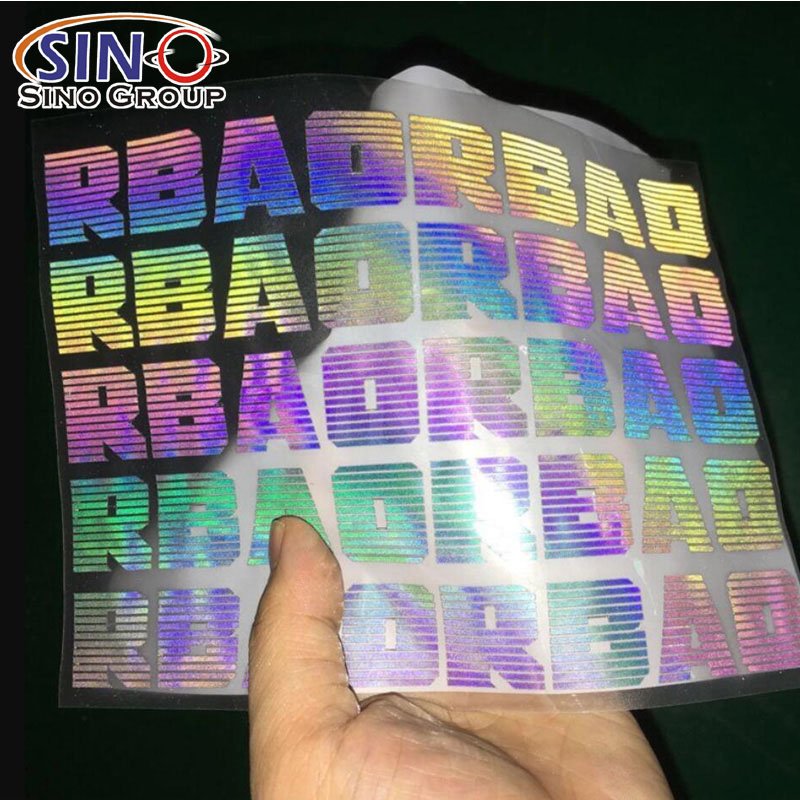
Printable reflective vinyl is a cutting-edge material that combines the versatility of vinyl with the added benefit of reflectivity. It opens up a whole new world of creative possibilities for DIY enthusiasts, designers, and businesses alike. This remarkable material allows you to print custom designs, logos, and images on a vinyl surface that reflects light, making it highly visible and eye-catching.
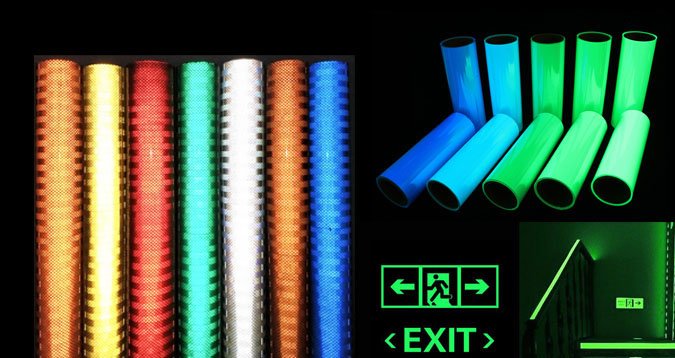
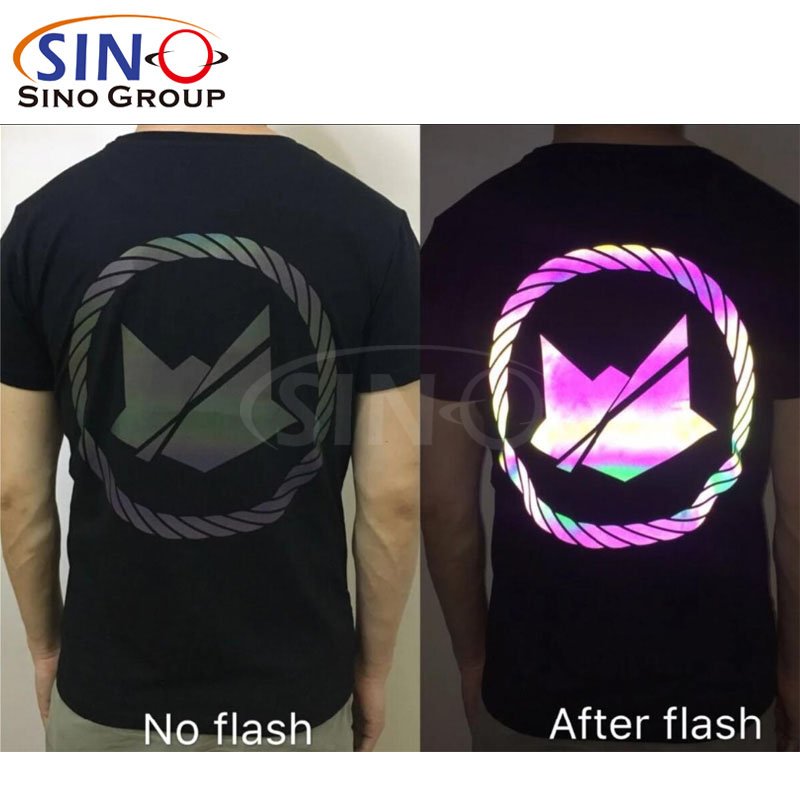
But what sets printable reflective vinyl apart from traditional vinyl materials? Its uniqueness lies in its ability to reflect light, making it ideal for various applications where visibility and safety are paramount. The vinyl’s reflective properties are achieved through the use of microscopic glass beads or prismatic technology, which create a dazzling effect when light hits the surface.

Step-by-step guide to designing and printing with printable reflective vinyl
Here’s a step-by-step guide to designing and printing with printable reflective vinyl:
Step 1: Gather the necessary materials and tools
- Printable reflective vinyl sheets
- Inkjet printer
- Design software (e.g., Adobe Photoshop, Illustrator, or a free alternative like Canva)
- Cutting tools (scissors or a craft knife)
- Application tools (squeegee or a credit card)
Step 2: Prepare your design
- Open your preferred design software and create a new document.
- Set the dimensions to match the size of your printable reflective vinyl sheet.
- Design your artwork, keeping in mind the reflective nature of the vinyl.
- Incorporate any text, graphics, or images you want to include in your design.
Step 3: Adjust the design for printing
- Make sure your design is properly scaled and positioned on the document.
- Mirror the design horizontally if necessary, especially for text or logos.
- Check the color mode of your design. For printable reflective vinyl, it’s typically CMYK.
Step 4: Load and print on the printable reflective vinyl
- Load one sheet of printable reflective vinyl into your inkjet printer.
- Adjust the printer settings to match the type of printable media.
- Print a test page on regular paper to ensure the design is aligned and colors appear as expected.
- Once satisfied, print the design directly onto the printable reflective vinyl sheet.
Step 5: Allow the printed vinyl to dry
- After printing, let the vinyl sheet dry completely before handling it.
- Follow the recommended drying time specified by the vinyl manufacturer.
Step 6: Cut out your design
- Use scissors or a craft knife to carefully cut out your design from the printed reflective vinyl.
- Follow the edges of your design and cut precisely for a clean result.
Step 7: Weed the excess vinyl
- Remove any unwanted vinyl pieces around your design. This process is called “weeding.”
- Use the tip of a craft knife or a weeding tool to peel off the excess vinyl gently.
Step 8: Apply transfer tape (optional)
- If you’re working with intricate designs or multiple layers, consider using transfer tape.
- Cut a piece of transfer tape slightly larger than your design.
- Peel off the transfer tape backing and carefully apply it over your design, smoothing it down to ensure proper adhesion.
Step 9: Apply the design to your desired surface
- Prepare the surface where you want to apply the design, ensuring it’s clean and dry.
- If using transfer tape, position your design in the desired location and press it onto the surface.
- Use a squeegee or a credit card to firmly smooth out the design, removing any air bubbles.
Step 10: Remove the transfer tape (if used) and finalize the application
- Gently peel off the transfer tape at a 45-degree angle, ensuring the vinyl design remains adhered to the surface.
- Smooth out any remaining air bubbles or wrinkles using a squeegee or your fingers.
Congratulations! You have successfully designed and printed your artwork using printable reflective vinyl. Enjoy the eye-catching results of your DIY project!
Tips for achieving optimal results when printing on printable reflective vinyl
Here are some tips for achieving optimal results when printing on printable reflective vinyl:
- Calibrate your printer: Before printing on reflective vinyl, make sure your printer is properly calibrated. This ensures accurate color reproduction and prevents any potential issues such as streaks or misalignment.
- Test print on regular paper: Before printing directly on the reflective vinyl, it’s a good idea to do a test print on regular paper. This allows you to check the colors, layout, and alignment of your design before committing to the vinyl.
- Allow for drying time: After printing on reflective vinyl, allow sufficient drying time before handling or applying any protective layers. This helps prevent smudging or damage to the print.
By following these tips, you can enhance the quality and durability of your prints on printable reflective vinyl, ensuring that your DIY projects truly shine.
(Click the picture to get the products)
Final Words
In conclusion, unlocking creativity with printable reflective vinyl opens up a world of possibilities for DIY enthusiasts and designers alike. By harnessing the unique properties of this material, you can create stunning and eye-catching projects that captivate both during the day and at night. From personalized decals and stickers to home decor and promotional merchandise, printable reflective vinyl offers a versatile canvas for your imagination to flourish. Remember to follow the tips and techniques outlined in this tutorial to achieve optimal results in your printing endeavors. So go ahead, explore the realms of creativity, and let printable reflective vinyl illuminate your DIY journey like never before. Unleash your imagination and watch as your designs shine brightly with this remarkable material.

