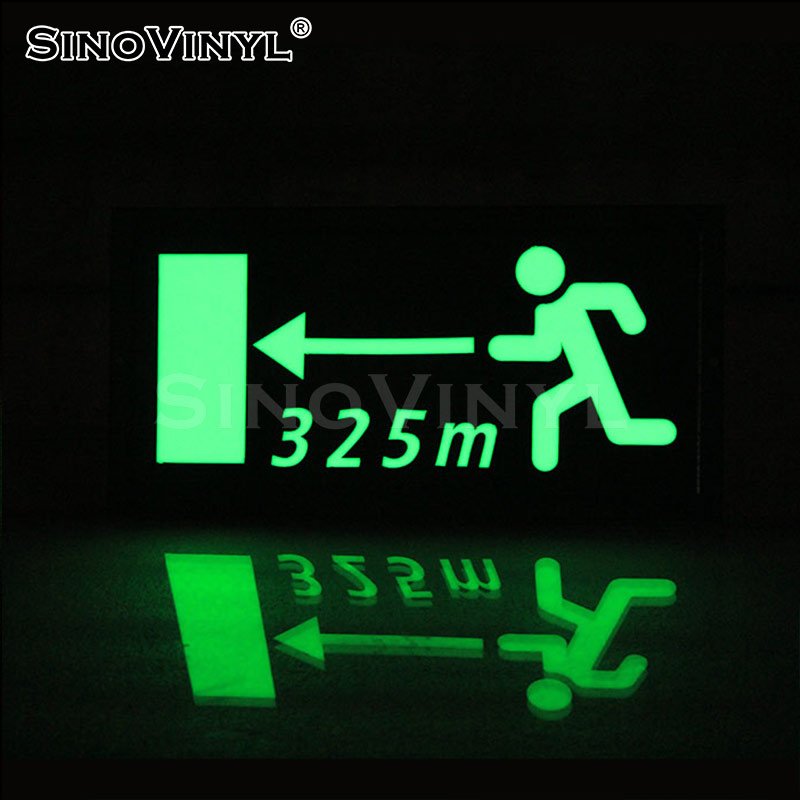
What is the process of applying reflective vinyl to a car’s surface?
Applying reflective vinyl for cars’ surface involves a systematic process to ensure proper adhesion, alignment, and a smooth finish. Here’s a step-by-step guide on how to apply reflective vinyl to a car:
Tools and Materials
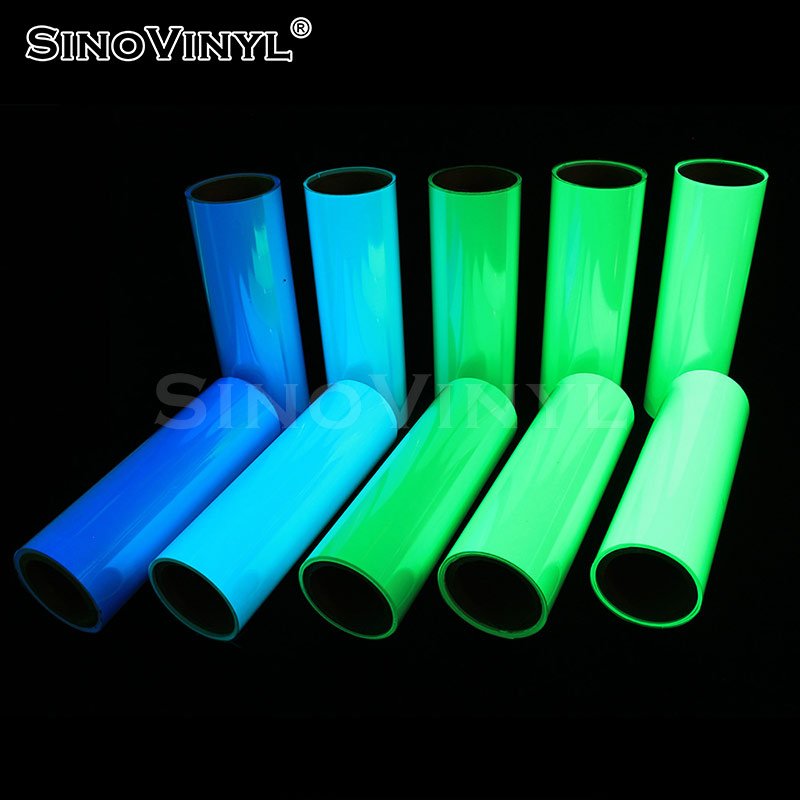
– Reflective vinyl wrap
– Isopropyl alcohol or vinyl surface cleaner
– Squeegee
– Heat gun or hairdryer
– Microfiber cloth
– Precision cutting tools (e.g., utility knife)
– Measuring tape or ruler
Step-by-Step Process
1. Clean the Surface
Start by thoroughly cleaning the area of the car where you intend to apply the reflective vinyl. Use isopropyl alcohol or a vinyl surface cleaner to remove any dirt, dust, wax, or contaminants. A clean surface ensures better adhesion.
2. Measure and Cut the Vinyl
Measure the area you’re covering with the reflective vinyl. Add a few inches to each side for overlap and trimming. Use precision cutting tools to cut the reflective vinyl to the required size and shape. If you’re working with intricate designs, consider creating a template to ensure accurate cutting.
3. Peel Backing and Align
Gently peel back a small portion of the backing paper from the reflective vinyl. Align the exposed edge of the vinyl with the desired position on the car’s surface. Use masking tape or painter’s tape to temporarily hold the vinyl in place.
4. Apply the Vinyl
Gradually peel back the backing paper while smoothing down the vinyl onto the car’s surface. Use a squeegee to press down the vinyl, working from the center outward to remove air bubbles and ensure proper adhesion. Apply firm but controlled pressure to avoid wrinkles or creases.
5. Trim Excess Vinyl
Once the vinyl is applied, use a precision cutting tool to trim away any excess material along the edges of the car’s surface. Take your time and make precise cuts to achieve a clean and professional look.
6. Heat and Stretch
If the vinyl needs to be stretched around curves or complex shapes, use a heat gun or hairdryer to gently warm the vinyl. This makes it more pliable and allows you to stretch and conform the vinyl to the contours of the car. Be cautious not to overheat or melt the vinyl.
7. Squeegee and Heat Again
After stretching, use the squeegee again to firmly press down the vinyl and remove any remaining air bubbles. Apply heat as needed to help the vinyl adhere properly and settle into place.
8. Repeat for Additional Panels
If you’re applying reflective vinyl to multiple panels or sections of the car, repeat the process for each area. Take your time and ensure each panel is aligned and applied accurately.
9. Final Inspection
Carefully inspect the applied reflective vinyl for any bubbles, wrinkles, or imperfections. Use the squeegee and heat gun to address any issues and ensure a smooth, seamless finish.
10. Allow for Cure Time
Allow the reflective vinyl to cure and adhere fully according to the manufacturer’s recommendations. This typically involves avoiding exposure to extreme temperatures or washing the car for a certain period.
Remember, proper installation requires patience and attention to detail. If you’re not confident in your ability to apply reflective vinyl, consider seeking professional assistance to achieve the best results.

What techniques are essential for a successful vinyl installation?
Successful vinyl installation requires careful preparation, proper tools, and precise techniques. Here are some essential techniques for a successful vinyl installation:
1. Surface Preparation
Clean the surface thoroughly to remove dirt, dust, and oils. Use a mixture of water and mild soap, followed by a clean water rinse. Make sure the surface is completely dry before applying the vinyl.
2. Measuring and Alignment
Measure and plan the placement of the vinyl carefully. Use masking tape to create a hinge that allows you to position the vinyl before fully adhering it. Use a level and tape measure to ensure precise alignment.
3. Application Fluid Technique
Spray the surface with a mixture of water and soap before placing the vinyl. This technique allows you to slide and adjust the vinyl’s position until you’re satisfied. Use the squeegee to gently press out air bubbles and excess fluid.
4. Use of Heat
When dealing with curves, corners, or complex shapes, use a heat gun or hairdryer to warm the vinyl. This makes it more pliable and easier to conform to the surface. Be cautious not to overheat or damage the vinyl.
5. Stretching and Positioning
For complex curves, you may need to gently stretch the vinyl to fit. Apply heat as needed and use the squeegee to guide the vinyl into place.
6. Trimming Excess Vinyl
Once the vinyl is in position, use a sharp utility knife or cutting tool to trim the excess material. Use a steady hand and make clean, precise cuts.
7. Finishing Touches
After the vinyl is applied, use the squeegee to press down the edges and ensure a secure bond. Apply heat again to help the vinyl adhere better and eliminate any remaining air bubbles.
8. Post-Installation Care
Allow the vinyl to set and cure for the recommended time before exposing it to extreme conditions. Avoid washing the car for at least 24-48 hours to allow the adhesive to fully bond.
Remember that practice and patience are key to achieving a successful vinyl installation. If you’re new to vinyl wrapping, consider practicing on smaller, less visible surfaces before attempting a full car wrap.