The History of Reflective Vinyl in Clothing Design
The history of reflective vinyl in clothing design dates back several decades, with advancements in material technology and a growing emphasis on safety and visibility. Here’s a brief overview of its evolution:
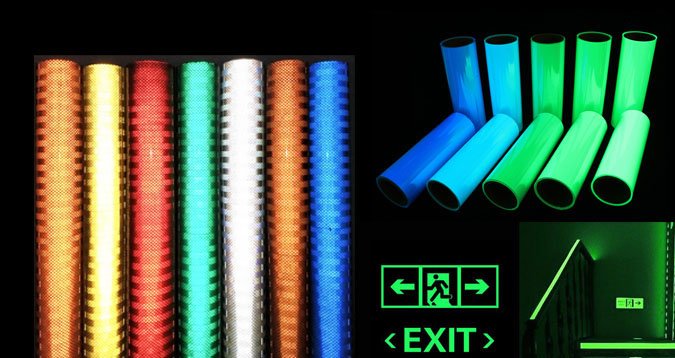
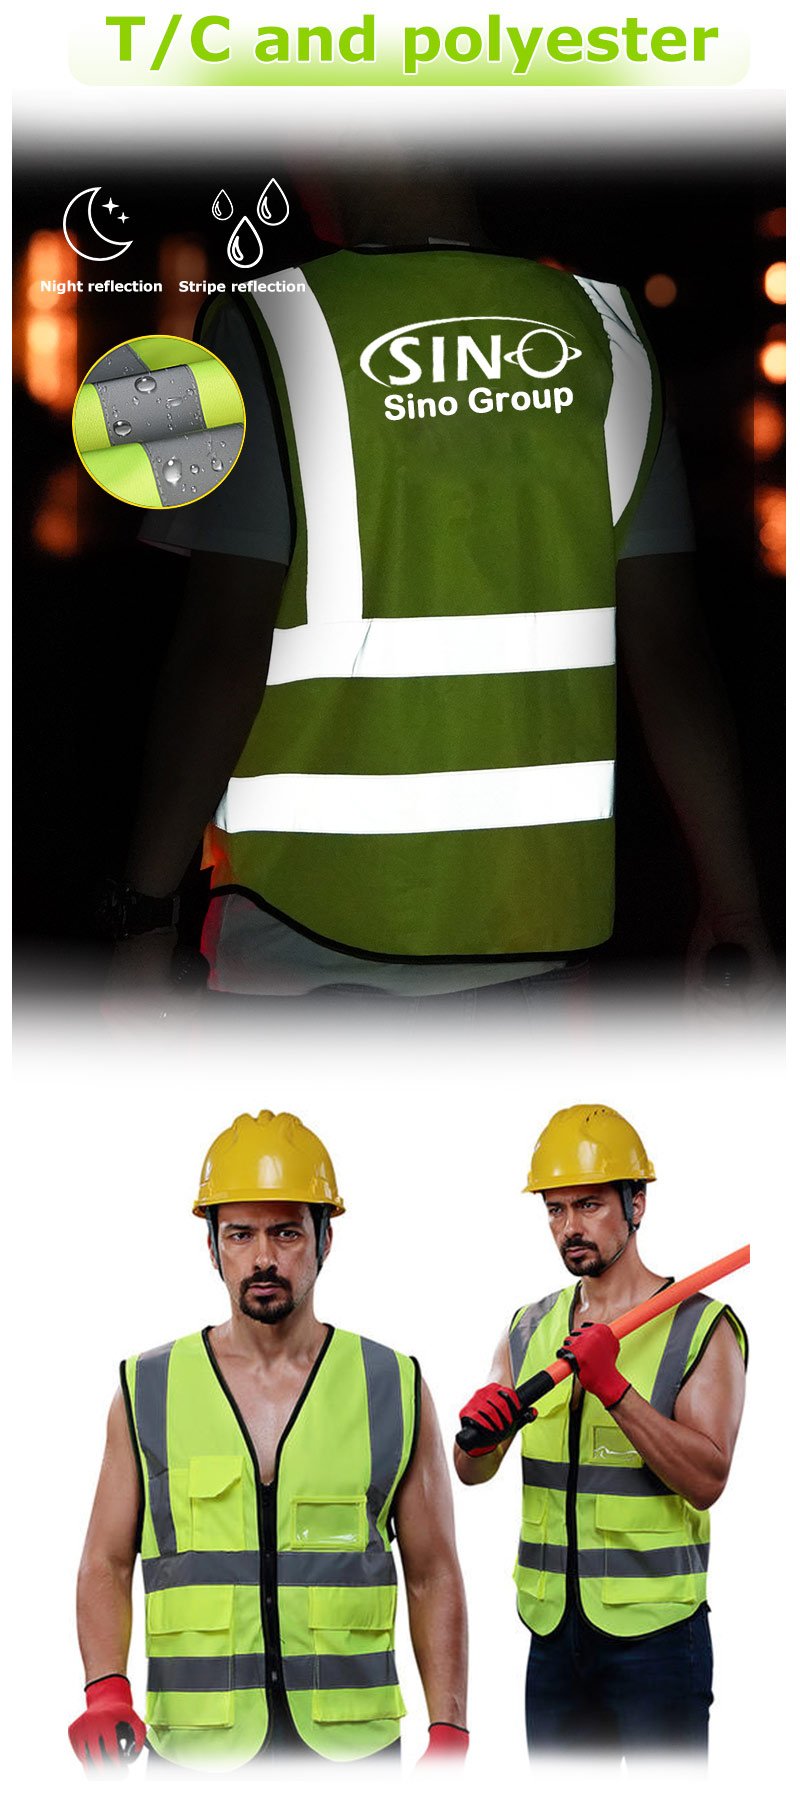
- Emergence of Reflective Materials: Reflective materials, in general, were initially developed for industrial and safety purposes. Reflective strips made from glass beads or microprisms were incorporated into high-visibility garments worn by construction workers, road workers, and emergency personnel in the mid-20th century.
- Introduction of Reflective Vinyl: Reflective vinyl, a type of reflective material with a vinyl base, gained popularity in the 1980s. It offered greater flexibility, durability, and ease of use compared to traditional reflective materials. This made it a preferred choice for designers and manufacturers in the clothing industry.
- Early Adoption in Sportswear: Reflective vinyl started to make its way into sportswear, particularly in activewear and running gear. Athletes and fitness enthusiasts embraced the enhanced visibility provided by reflective vinyl, allowing them to train during low-light conditions.
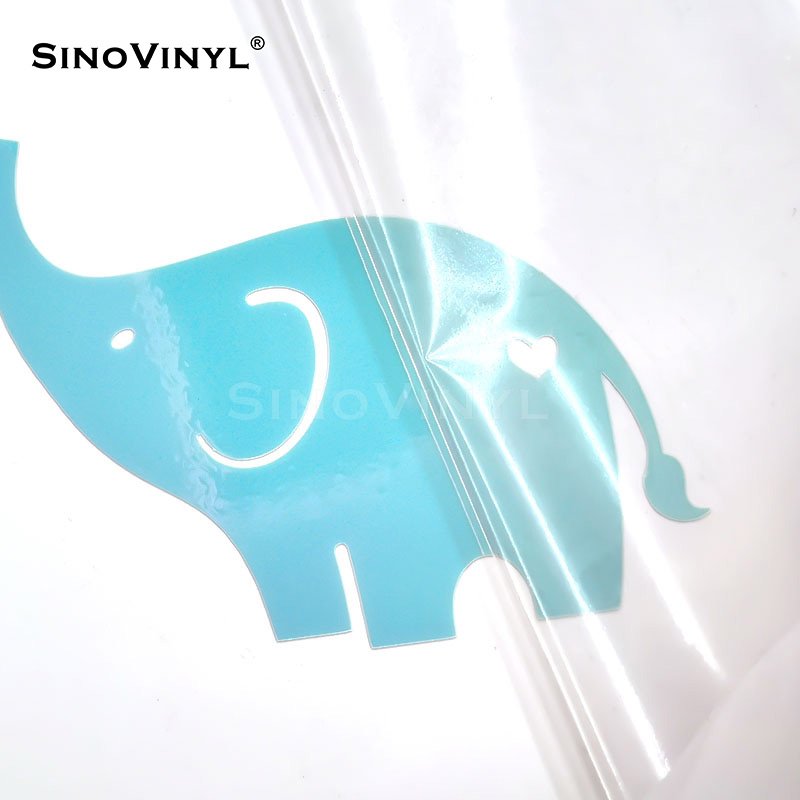
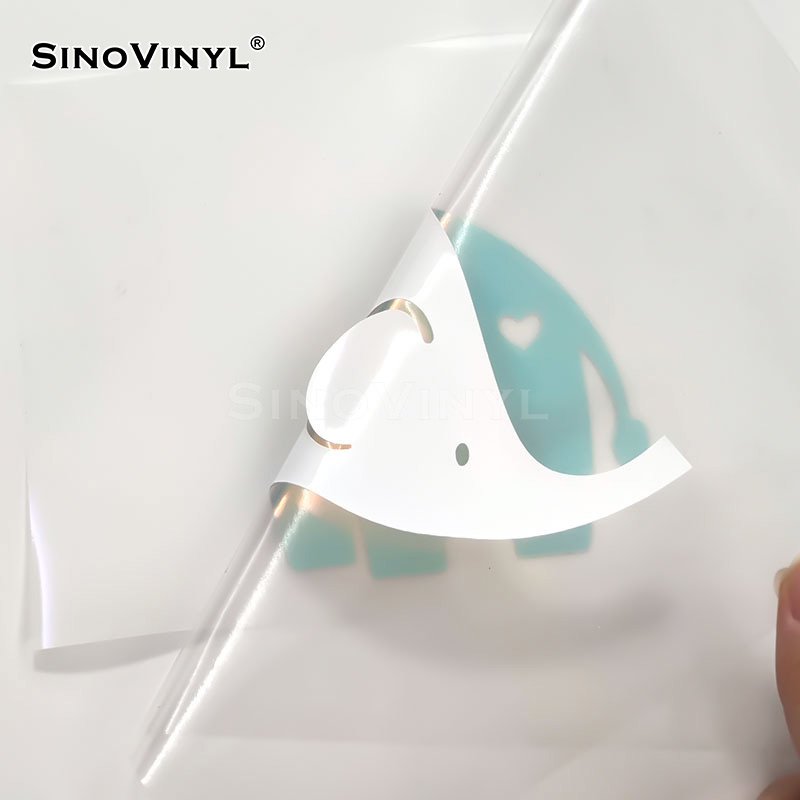
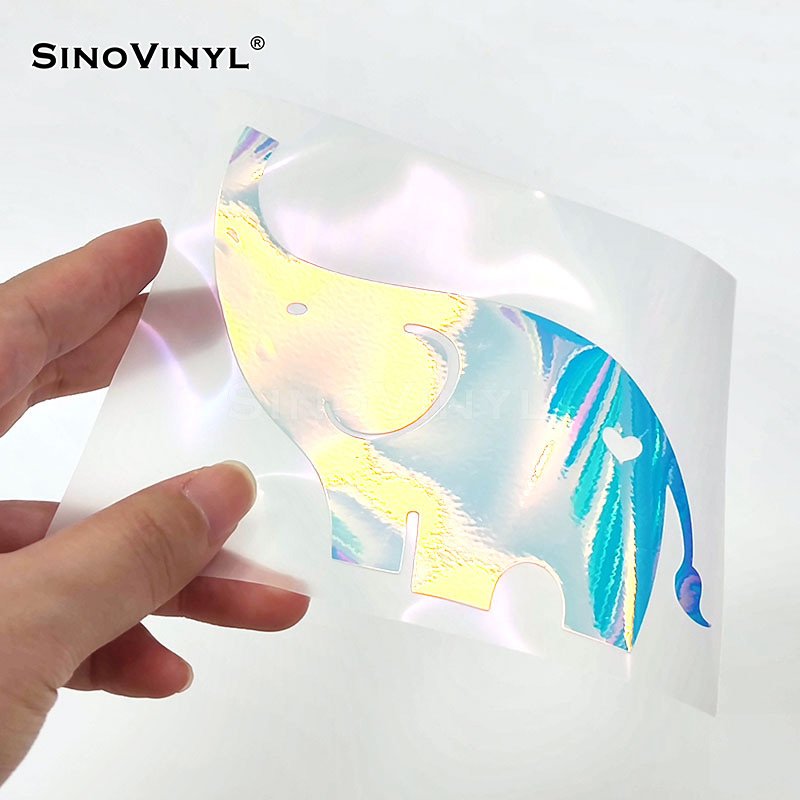
Step-by-Step Guide to Applying Reflective Vinyl on Clothing
1. Gather your materials
You’ll need the following items:
- Reflective vinyl sheet
- Clothing item to be decorated
- Scissors
- Pen or marker
- Heat press or iron
- Parchment paper or thin cloth
2. Design and cut your vinyl
Determine the design or shape you want to apply to your clothing. Using scissors, cut out the desired shape from the reflective vinyl sheet. You can trace the shape onto the vinyl using a pen or marker before cutting.
3. Prepare the clothing item
Ensure that the clothing item is clean and dry. Lay it flat on a stable surface, such as an ironing board or table.
4. Position the vinyl
Carefully place the cut-out vinyl on the desired spot of the clothing item, adhesive side down. Make sure it is positioned exactly where you want it.
5. Apply heat and pressure
If you’re using a heat press, set the appropriate temperature and time according to the manufacturer’s instructions. If you’re using an iron, preheat it to the cotton setting without steam. Place a piece of parchment paper or thin cloth over the vinyl to protect it during the application.
6. Heat press
If using a heat press, place it over the vinyl and apply firm, even pressure for the specified time. The heat will activate the adhesive on the vinyl, bonding it to the fabric.
7. Iron
If using an iron, press it firmly over the parchment paper or cloth-covered vinyl. Apply consistent pressure and move the iron in circular motions for about 10-15 seconds. Ensure that the entire design area receives heat.
8. Allow cooling and remove backing
After the heat application, allow the vinyl to cool down completely. Once cooled, gently peel off the backing paper, leaving the reflective vinyl design on the clothing.
9. Optional
Additional heat application (recommended): To ensure a strong bond, you can place the parchment paper or cloth over the applied vinyl once again and reapply heat for a few seconds. This step reinforces the adhesive bond.
10. Let it set
Allow the clothing item to cool down completely before wearing or washing it. Follow the care instructions for the specific vinyl and clothing material to ensure longevity.
Remember to consult the manufacturer’s instructions for the reflective vinyl you’re using, as the application process may vary slightly.

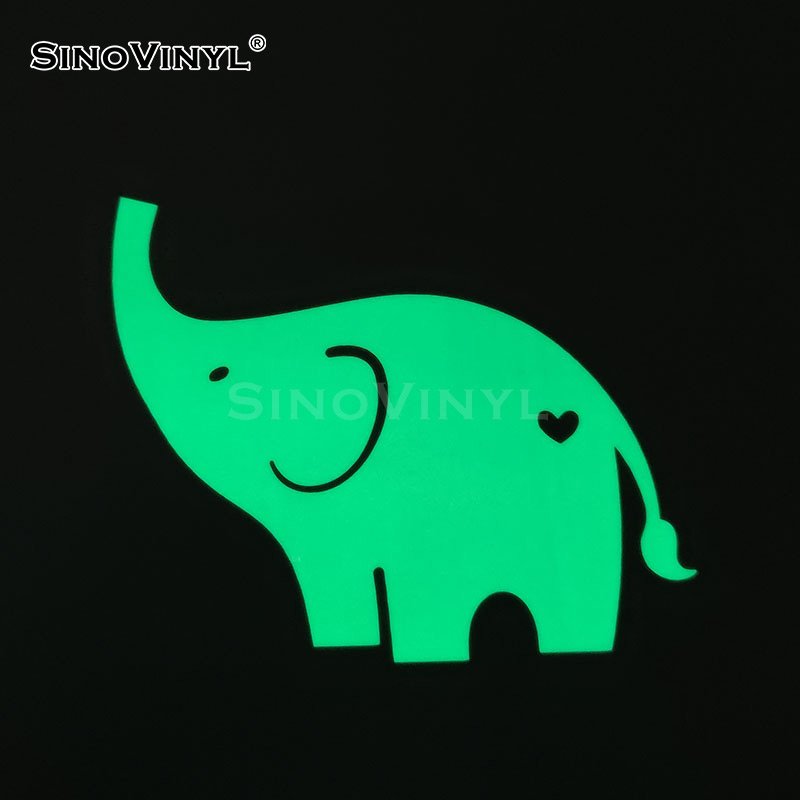
DIY Projects: Customizing Clothing with Reflective Vinyl
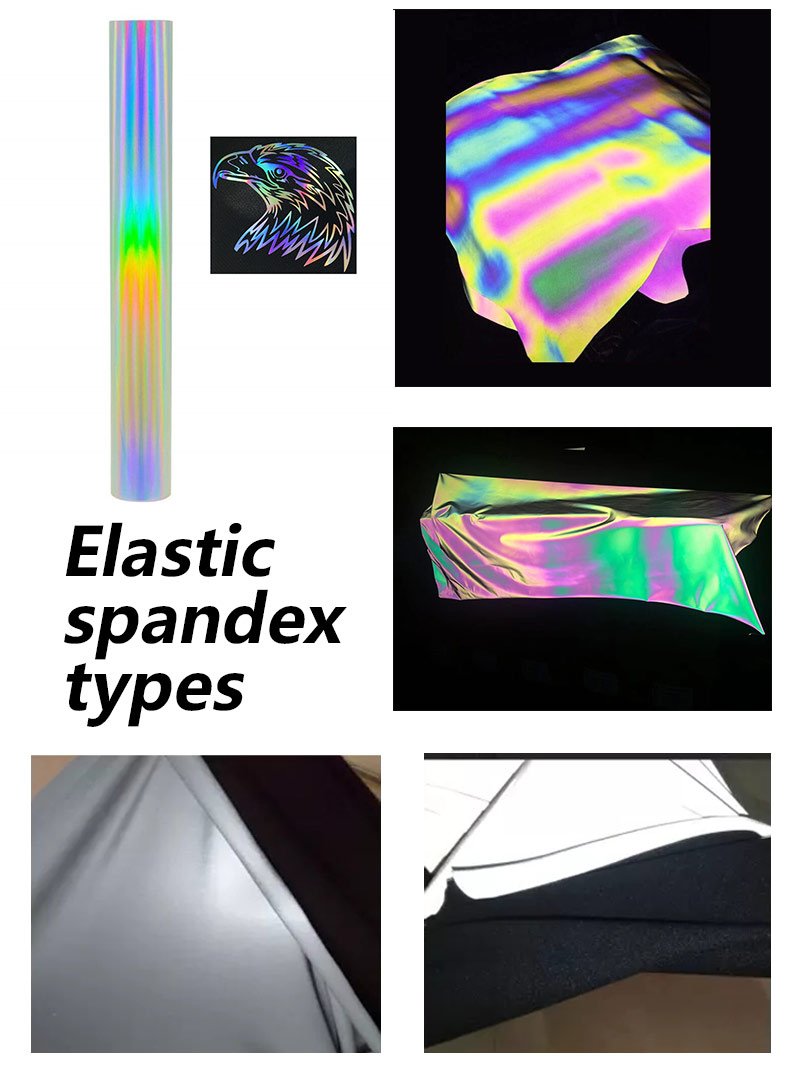
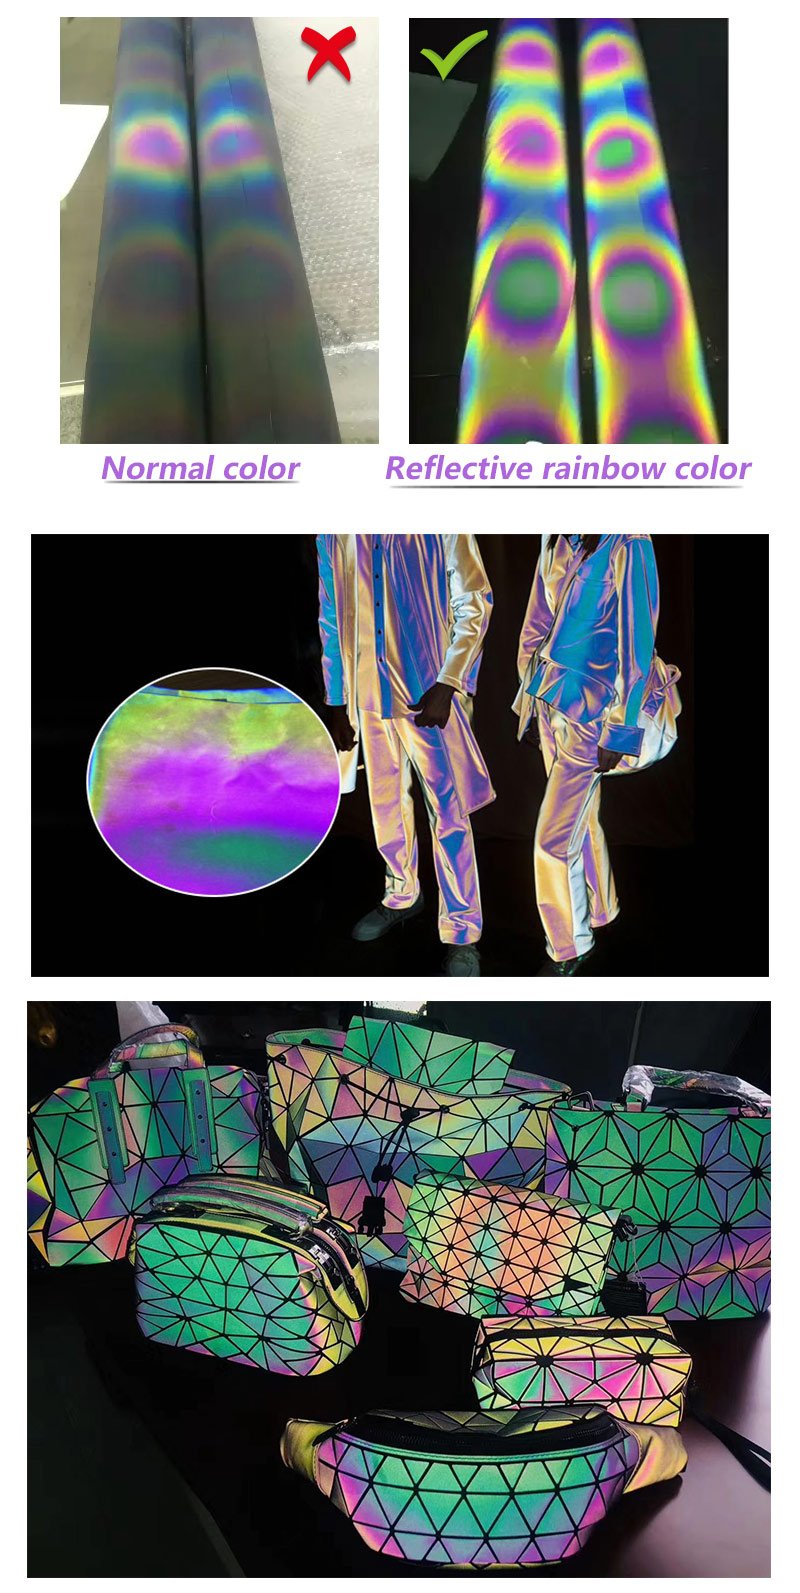
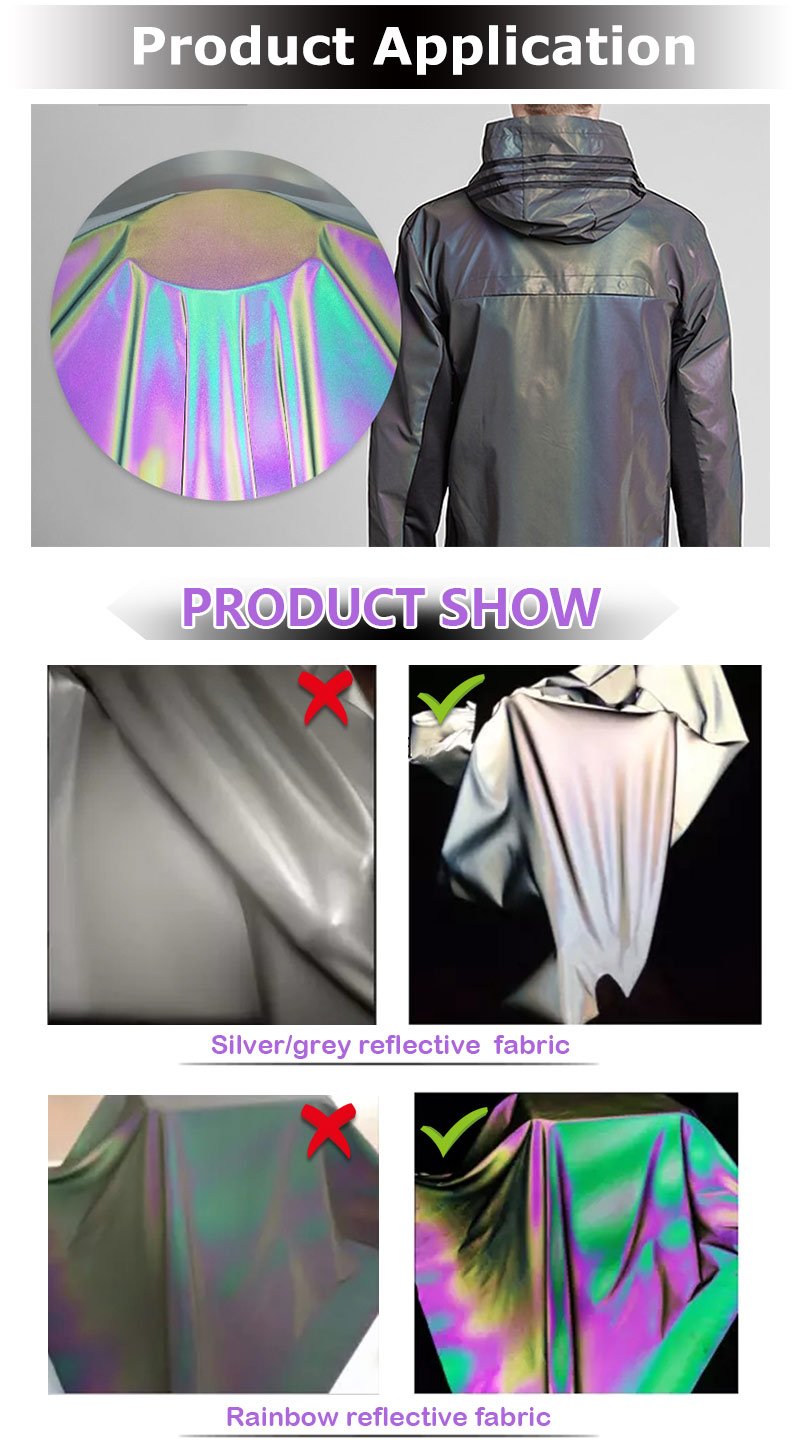
DIY projects involving customizing clothing with reflective vinyl offer a fun and creative way to personalize your garments while adding an element of safety and style. Reflective vinyl provides a unique opportunity to transform ordinary clothing items into eye-catching, illuminated pieces that stand out in low-light conditions.
One of the advantages of using reflective vinyl for DIY projects is its versatility. It can be applied to various types of fabrics, including cotton, polyester, nylon, and even leather. Whether you want to spruce up a plain t-shirt, jazz up a jacket, or add flair to your sneakers, reflective vinyl can be easily incorporated into your designs.
Final Words
In conclusion, reflective vinyl opens up a world of creative possibilities when it comes to customizing clothing. It allows you to infuse your personal style into your wardrobe while simultaneously promoting safety in low-light conditions. Whether you’re a fashion enthusiast looking to make a statement, a DIY lover seeking to add a unique touch to your garments, or someone who values visibility during nighttime activities, reflective vinyl has got you covered. So, unleash your creativity, experiment with designs, and let your clothing shine bright with reflective vinyl. Embrace the fusion of fashion and functionality, and elevate your style to new illuminated heights. With reflective vinyl, the possibilities are endless, and the results are truly captivating.

