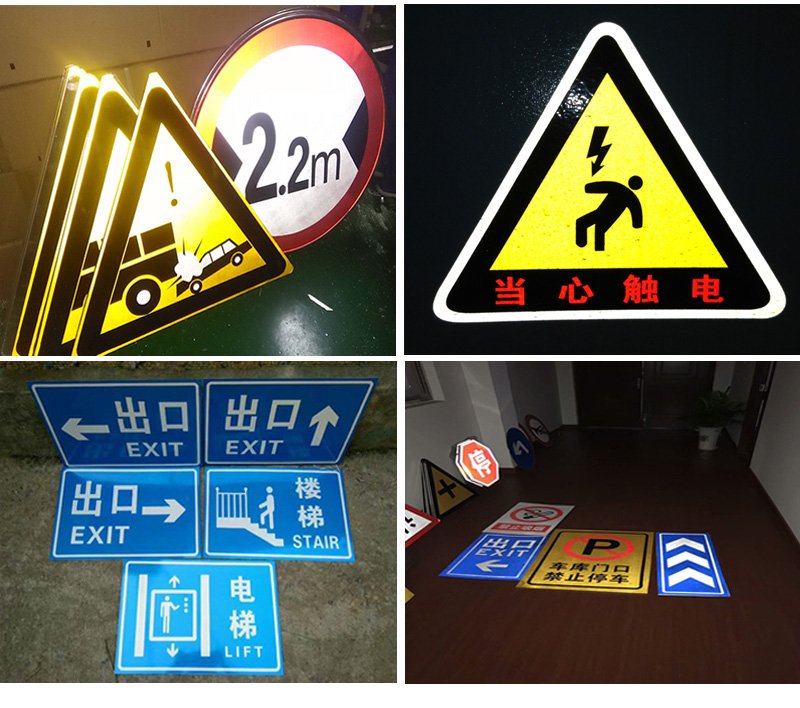
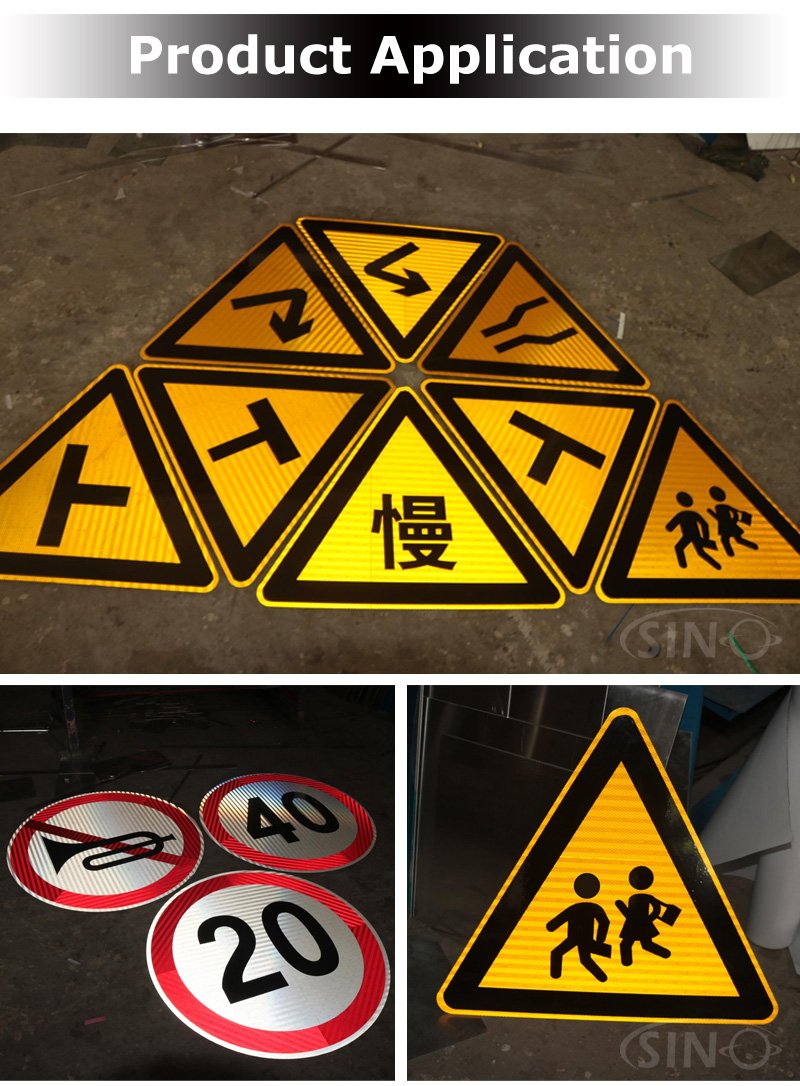
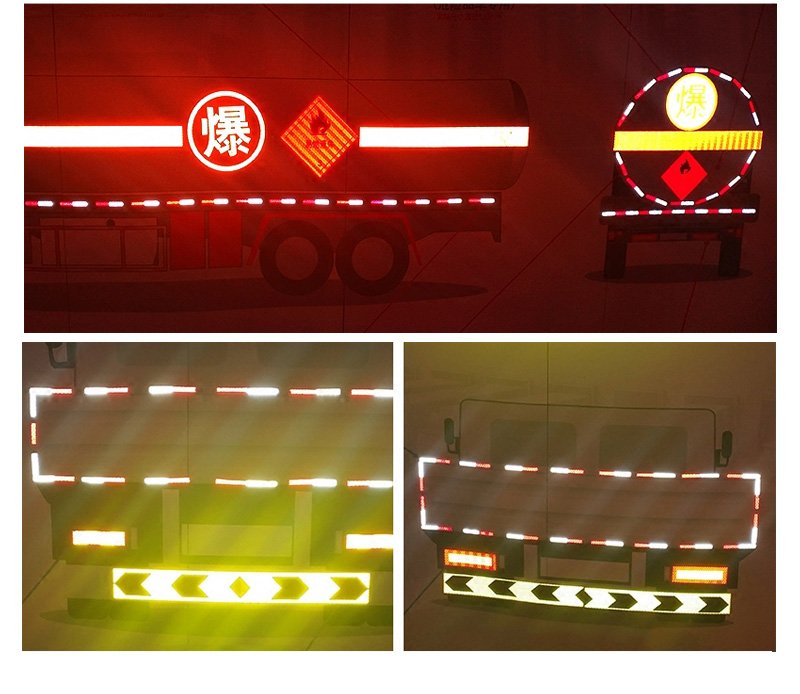
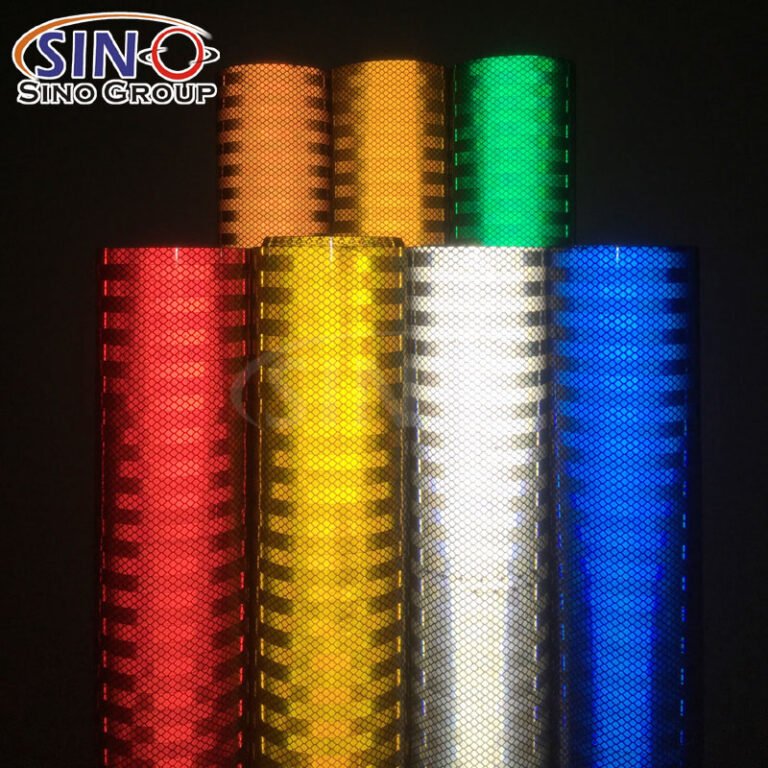
How can businesses and individuals customize reflective vinyl designs to align with their branding?
Customizing reflective vinyl designs to align with branding involves a combination of creative design choices, color selection, and strategic placement. Here’s a step-by-step guide on how businesses and individuals can achieve this:
1. Understand Branding Identity
– Before creating reflective vinyl designs, thoroughly understand your brand’s identity, values, and messaging. This will guide the design process to ensure that the final product accurately represents the brand.
2. Logo and Visual Elements
– Incorporate your logo and other key visual elements of your brand into the design. Ensure that these elements are recognizable and well-represented in the reflective vinyl graphics.
3. Color Palette
– Choose reflective vinyl colors that align with your brand’s color palette. Maintain consistency with the colors used in your other branding materials, such as logos, packaging, and marketing collateral.
4. Typography
– Select fonts and typography that match your brand’s style. The text on reflective vinyl can convey important information, so it should be legible and consistent with your brand’s voice.
5. Message and Purpose
– Determine the message you want to convey with the reflective vinyl design. Whether it’s a promotional message, safety warning, or directional signage, ensure that it aligns with your brand’s goals and objectives.
6. Creative Design Elements
– Infuse creative elements that reflect your brand’s personality. This could include unique graphics, icons, patterns, or illustrations that are synonymous with your brand.
7. Design Size and Placement
– Consider the size and placement of the reflective vinyl design. Ensure that it is visible and easily identifiable in the intended environment, whether it’s on a vehicle, sign, or any other surface.
8. Contrast and Visibility
– Emphasize contrast to enhance visibility, especially in low-light conditions. The reflective properties of the vinyl will naturally catch light, but using contrasting colors and bold designs will make the graphics stand out even more.
9. Test and Prototype
– Create prototypes or mock-ups of the reflective vinyl design to visualize how it will look in real-world settings. Test different lighting conditions and distances to ensure optimal visibility.
10. Integration with Other Branding
– Ensure that the reflective vinyl designs seamlessly integrate with your overall branding strategy. Consistency across all branding elements helps reinforce your brand’s identity.
11. Consult Professionals
– If designing reflective vinyl graphics is beyond your expertise, consider working with graphic designers or branding specialists who have experience in creating effective and impactful designs.
12. Regular Review and Updates
– Periodically review your reflective vinyl designs and make updates as needed to keep them aligned with any changes in your brand or messaging.
Remember, the goal is to create reflective vinyl designs that not only serve their intended purpose but also reinforce your brand’s identity and leave a lasting impression on viewers.


Are there limitations to the complexity of designs that can be achieved with reflective vinyl rolls?
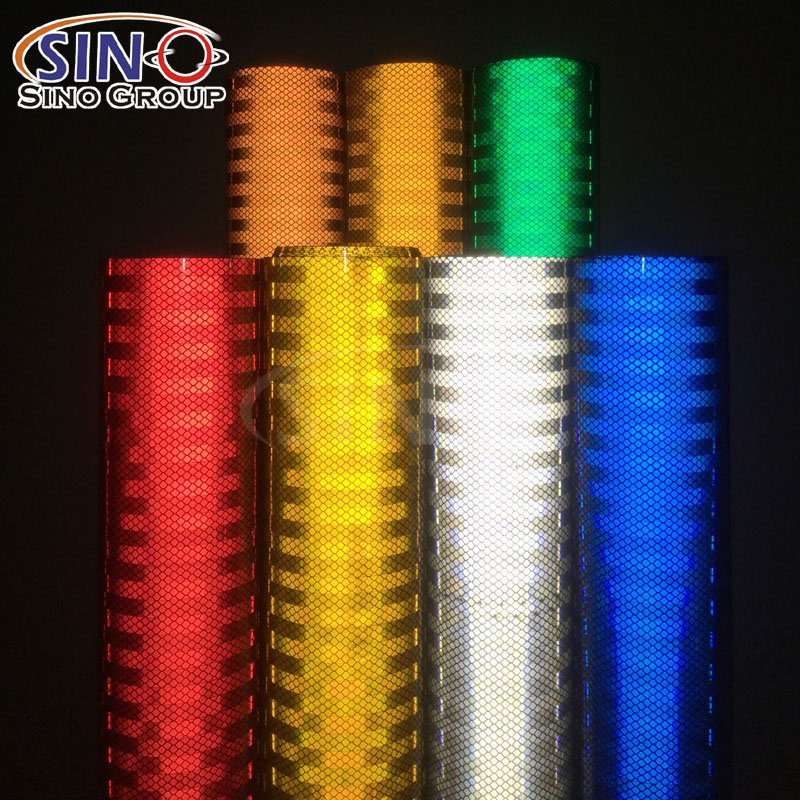
Yes, there are certain limitations to the complexity of designs that can be achieved with reflective vinyl rolls. While reflective vinyl is a versatile material that can be used to create a wide range of designs, there are some factors to consider:
1. Size and Detail
Reflective vinyl rolls are typically available in various sizes, and the level of detail that can be achieved in a design may be influenced by the size of the vinyl sheet. Very intricate and small details might not be as clear when produced on reflective vinyl, especially at smaller sizes.
2. Cutting and Weeding
Reflective vinyl designs often involve cutting out shapes, letters, or patterns. The cutting process is called “weeding,” where excess vinyl is removed, leaving the desired design. Extremely intricate designs with fine lines or small areas may be challenging to weed accurately.
3. Luminance and Contrast
Reflective vinyl is primarily used for its reflective properties, which enhance visibility in low-light conditions. Complex designs with too many elements close together might reduce the overall contrast and luminance of the reflective surface, potentially affecting the intended visibility benefits.
4. Color and Contrast
While reflective vinyl comes in various colors, the reflectivity may vary depending on the color. Lighter colors tend to reflect more light than darker ones. The choice of color can impact the visibility of the design, especially in different lighting conditions.
5. Layering
Layering reflective vinyl to create multi-colored or textured designs is possible, but it can be more complex and may require precise alignment. Overlapping layers of reflective vinyl can impact the overall reflectivity and durability of the design.
6. Adhesive Properties
Reflective vinyl has adhesive on the back that allows it to be applied to surfaces. Depending on the complexity of the design and the intricacies of the surface, achieving a smooth application without air bubbles or wrinkles can sometimes be challenging.
7. Application Surface
The surface onto which reflective vinyl is applied can also impact the complexity of the design. Curved or uneven surfaces may require additional considerations and may limit the design possibilities.
8. Durability
Reflective vinyl designs are often used for outdoor applications where durability is important. Complex designs with very thin or delicate elements might be more prone to wear and tear over time.
Despite these limitations, skilled graphic designers and manufacturers can create impressive and intricate designs using reflective vinyl rolls. It’s essential to work closely with experienced professionals who understand the capabilities and challenges of the material to achieve the desired design outcome while maximizing the benefits of reflectivity and visibility.


