The Science Behind Reflective Vinyl Sheeting: How Does It Work?
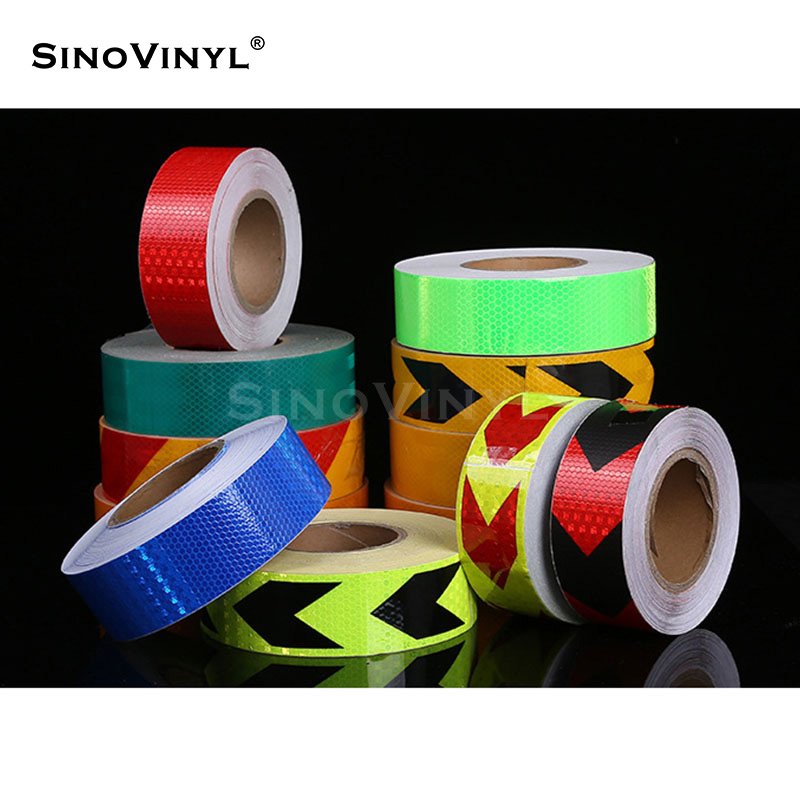
Reflective vinyl sheeting utilizes a combination of principles to create its remarkable reflective properties. Understanding the science behind it can help us appreciate its functionality and effectiveness. Here’s a breakdown of how reflective vinyl sheeting works:
1. Microprismatic Technology: Reflective vinyl sheeting is typically composed of tiny prisms, known as microprisms, embedded within the material. These prisms are designed to manipulate light by reflecting it back towards its source.
2. Total Internal Reflection: The microprisms within the reflective vinyl sheeting are strategically shaped to achieve total internal reflection. When light enters the prism at a specific angle, it undergoes internal reflection, bouncing off the surfaces inside the prism instead of passing through.
3. Retroreflection: Retroreflection is the key principle behind reflective vinyl sheeting. As light enters the prism and undergoes total internal reflection, it is redirected back towards its source, regardless of the angle of incidence. This means that light from headlights, flashlights, or any other source will be reflected back towards the origin, enhancing visibility.
4. High-Index Materials: Reflective vinyl sheeting often incorporates high-index materials, such as glass beads or transparent resins, to enhance the efficiency of retroreflection. These materials help focus the light and increase the intensity of the reflected beam.
By employing these scientific principles and technologies, reflective vinyl sheeting transforms incoming light into a directed and intensified beam, significantly improving visibility in low-light or nighttime conditions. This makes it a valuable tool in enhancing safety, promoting brand visibility, and adding aesthetic appeal to a wide range of applications.

Exploring Different Applications of Reflective Vinyl Sheeting
Reflective vinyl sheeting is a versatile material that finds application in various industries and settings. Its reflective properties make it a valuable asset for enhancing visibility, safety, and design impact. Here are some different applications of reflective vinyl sheeting:
- Traffic Signage: Reflective vinyl sheeting is commonly used in the manufacturing of road signs. Its high reflectivity ensures that signs remain visible in low-light conditions, improving road safety for drivers and pedestrians alike.
- Vehicle Graphics and Wraps: Reflective vinyl sheeting is utilized in the creation of eye-catching graphics and wraps for vehicles. This allows for branding, advertising, and decorative elements that stand out during both day and night, enhancing the visibility of the vehicle.
- Advertising Displays: Reflective vinyl sheeting is employed in outdoor advertising displays, such as billboards and banners. By using reflective graphics, companies can effectively grab attention and promote their brand even in dimly lit conditions.
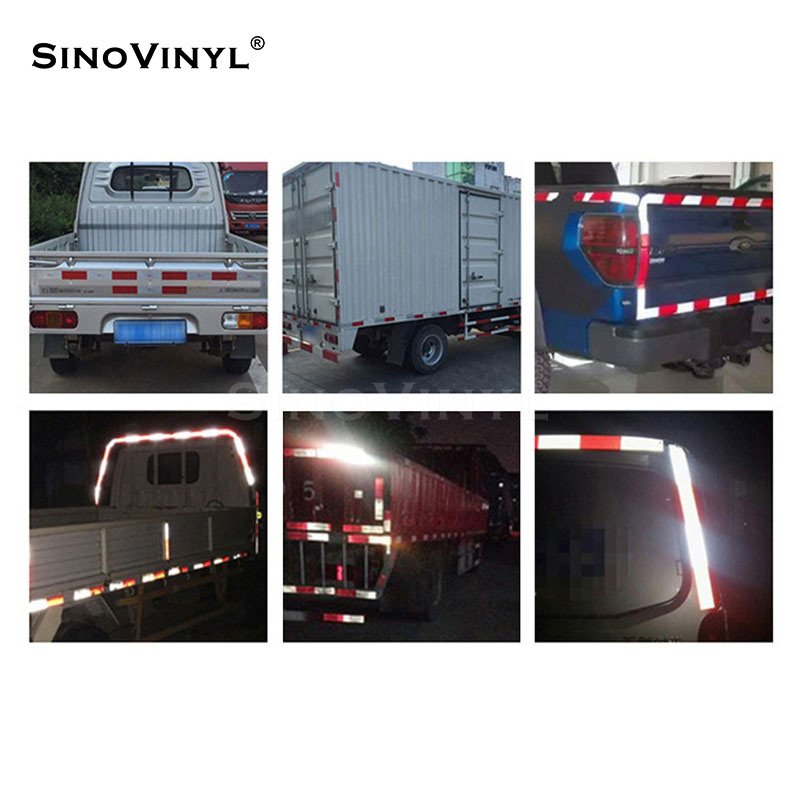
- Vehicle Markings: Reflective vinyl sheeting is used for marking commercial vehicles, including trucks, trailers, and buses. These markings help improve visibility and safety by making the vehicles more noticeable on the road.
- DIY Crafts and Decorations: Reflective vinyl sheeting is popular among craft enthusiasts and DIYers for creating unique and eye-catching decorations. It can be used for making reflective decals, stickers, and other decorative items.
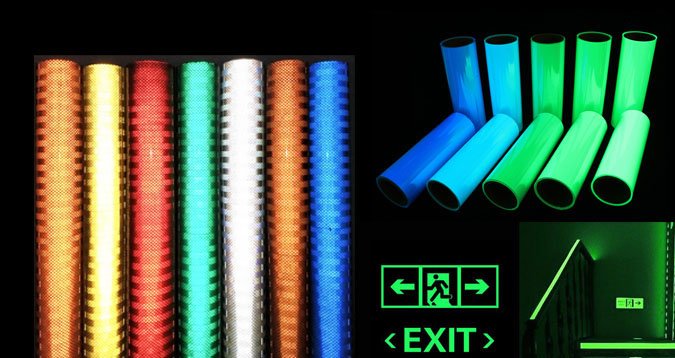
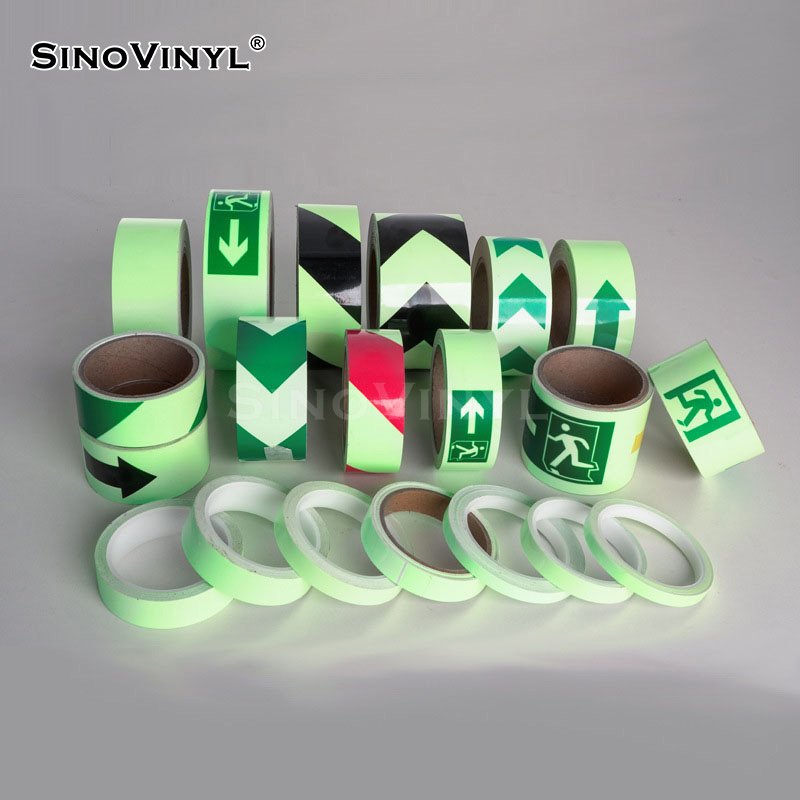
- Emergency Signage: Reflective vinyl sheeting is utilized in emergency signs, including exit signs, evacuation route markers, and fire safety signs. Its high reflectivity aids in quickly identifying emergency exits and vital information in low-light or smoky conditions.
These are just a few examples of the diverse applications of reflective vinyl sheeting. Its ability to enhance visibility and make a bold statement in design and safety makes it a valuable material in various industries and creative endeavors.

Step-by-Step Guide: Installing Reflective Vinyl Sheeting on Various Surfaces
Installing reflective vinyl sheeting can be a great way to enhance visibility and add a bold statement to different surfaces. Whether you’re working on a vehicle, signage, or any other project, follow this step-by-step guide to ensure a successful installation.
Materials you will need
- Reflective vinyl sheeting
- Application tape
- Squeegee or application tool
- Scissors or utility knife
- Surface cleaner (e.g., isopropyl alcohol)
- Measuring tape or ruler
Step 1: Surface Preparation
Ensure the surface is clean, dry, and free from any dust, dirt, or grease. Use a surface cleaner, such as isopropyl alcohol, to remove any contaminants. Allow the surface to dry completely before proceeding.
Step 2: Measuring and Cutting
Measure the area where you plan to apply the reflective vinyl sheeting. Use a measuring tape or ruler to get precise measurements. Add a few extra inches to the dimensions to allow for trimming and adjustments. Transfer the measurements onto the vinyl sheeting and cut it accordingly using scissors or a utility knife.
Step 3: Applying Application Tape
Lay the cut reflective vinyl sheeting on a flat surface with the adhesive side facing up. Place a piece of application tape over the vinyl sheeting, ensuring it covers the entire surface. Use a squeegee or application tool to smooth out any air bubbles and ensure a strong bond between the vinyl and the application tape.
Step 4: Positioning and Alignment
Carefully lift the application tape and reflective vinyl sheeting together, ensuring the adhesive side is facing down. Position it over the desired surface, aligning it according to your measurements and design preferences. Take your time to ensure proper alignment, especially if you’re working with intricate designs or patterns.
Step 5: Applying the Vinyl Sheet
Starting from one end, gradually lower the vinyl sheeting onto the surface, while simultaneously removing the application tape. Use the squeegee or application tool to apply even pressure, working from the center outward. This helps to remove air bubbles and ensures proper adhesion. Continue this process until the entire vinyl sheeting is applied.
Step 6: Smoothing and Trimming
Once the vinyl sheeting is applied, use the squeegee or application tool to smooth out any remaining air bubbles or wrinkles. Start from the center and work your way towards the edges. Trim any excess vinyl using scissors or a utility knife for a clean and professional finish.
Step 7: Final Inspection
Carefully inspect the installed reflective vinyl sheeting for any imperfections or areas that may require further attention. Smooth out any remaining bubbles or edges that may have lifted during the process. Double-check the alignment and ensure the vinyl is securely adhered to the surface.
Congratulations! You have successfully installed reflective vinyl sheeting on your chosen surface. Enjoy the enhanced visibility and bold statement it brings to your project.
Note: The specific installation process may vary depending on the type and brand of reflective vinyl sheeting you’re using. Always refer to the manufacturer’s instructions for detailed guidelines and recommendations.
(Click the picture to get the products)
Final Words
In conclusion, reflective vinyl sheeting emerges as a versatile and powerful tool that not only makes a bold statement in design but also enhances safety in various applications. Its ability to capture and reflect light adds a captivating visual element to surfaces, making them stand out and catch attention. Whether it’s used in architectural design, outdoor advertising, or safety signage, reflective vinyl sheeting offers a unique blend of style and functionality. By incorporating this innovative material into your projects, you can create eye-catching visuals that leave a lasting impression while prioritizing the importance of safety. Embrace the brilliance of reflective vinyl sheeting and let your designs shine bright, capturing both admiration and ensuring enhanced visibility in any environment.


