The Science Behind Silver Reflective Vinyl: How Does it Work?
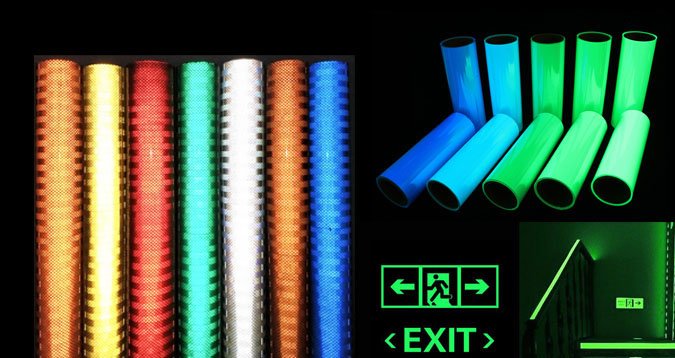
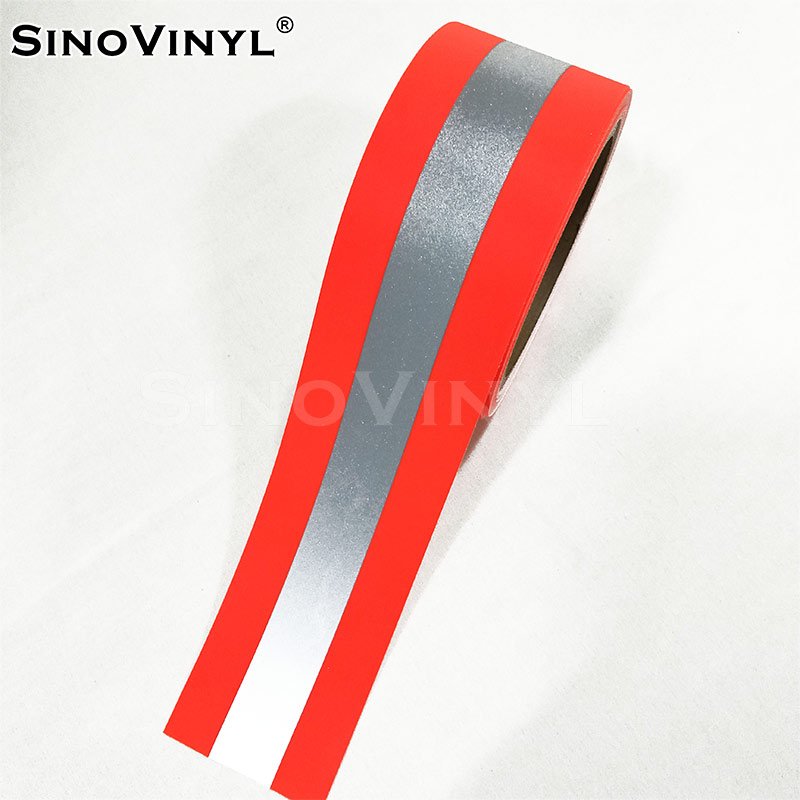
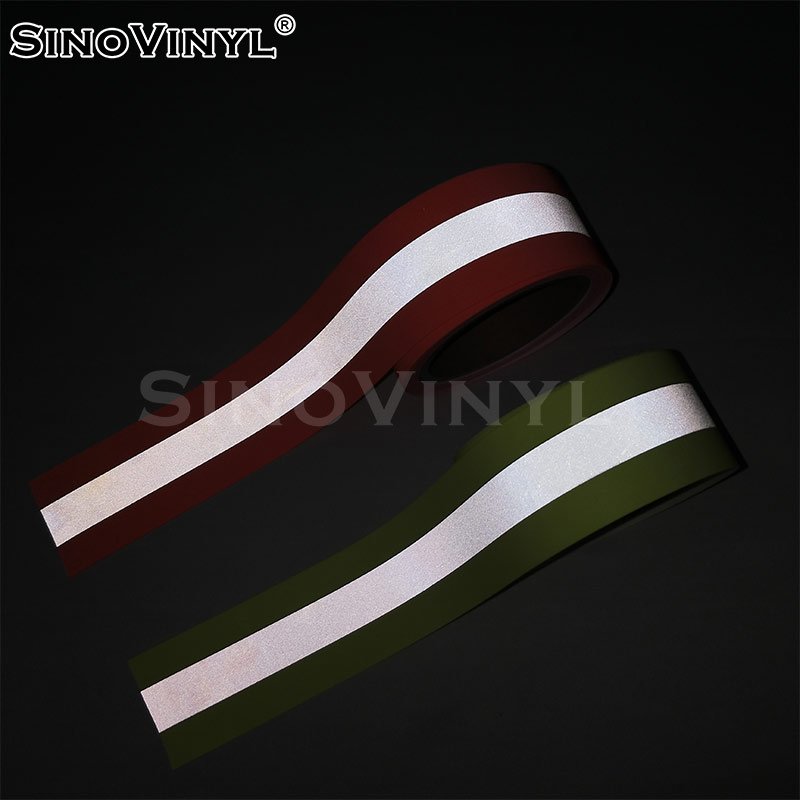
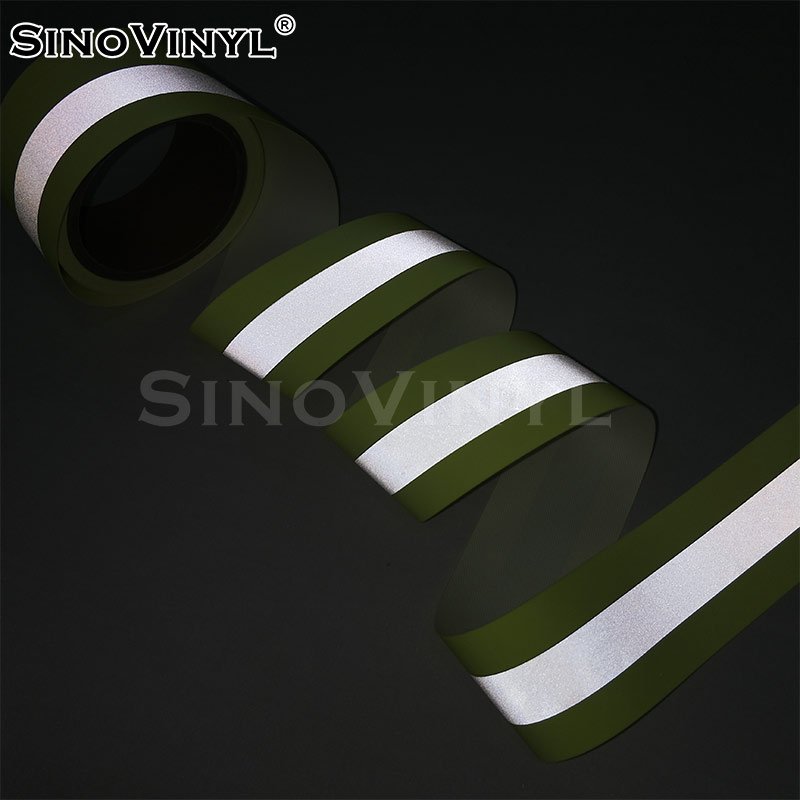
Silver reflective vinyl works based on the principles of retroreflection. Retroreflection is the ability of a material to redirect light back towards its source. In the case of silver reflective vinyl, this is achieved through the use of tiny glass beads or microprisms embedded in the material.
When light, such as from a headlight or any other source, strikes the surface of the silver reflective vinyl, it encounters these glass beads or microprisms. These optical elements are designed to reflect the light in a specific way. The incoming light rays are directed back towards the original source due to the shape and composition of the beads or prisms.

How to Properly Apply and Install Silver Reflective Vinyl
Properly applying and installing silver reflective vinyl is crucial to ensure a smooth and durable finish. Here is a step-by-step guide to help you through the process:
1. Prepare the Surface
Begin by cleaning the surface where you intend to apply the silver reflective vinyl. Make sure it is free from dirt, dust, and any other contaminants. Use a mild detergent and water solution or isopropyl alcohol to thoroughly clean the surface. Allow it to dry completely before proceeding.
2. Measure and Cut
Take accurate measurements of the area where you want to apply the silver reflective vinyl. Add some extra material to accommodate any curves or corners. Use a sharp utility knife or a vinyl cutter to cut the vinyl sheet according to the measurements.
3. Peel and Stick
Carefully peel off the backing paper from the silver reflective vinyl, starting from one corner. Be cautious not to touch the adhesive side with your fingers to avoid leaving any oils or residue. As you peel, gently press the vinyl onto the surface, aligning it properly with the intended area.
4. Smooth and Apply Pressure
Use a squeegee or a flat-edged tool to smooth out the vinyl and remove any air bubbles. Start from the center and work your way outwards. Apply firm pressure while running the squeegee over the surface, ensuring good adhesion. Take your time to achieve a bubble-free and even application.
5. Trim and Finish
Once the silver reflective vinyl is applied, use the utility knife or vinyl cutter to trim off any excess material. Pay attention to edges, corners, and curves for a neat and professional appearance. Be cautious not to damage the surface underneath while trimming.
6. Heat Application (Optional)
If required, you can use a heat gun or a hairdryer set to a low heat setting to warm the silver reflective vinyl slightly. This can make it more pliable and help it conform better to curved or uneven surfaces.
7. Final Inspection
After applying the silver reflective vinyl, step back and inspect the surface for any imperfections or areas that might need adjustments. Smooth out any remaining air bubbles or wrinkles with the squeegee, applying gentle pressure.
Remember, it’s always a good idea to refer to the specific instructions provided by the manufacturer of the silver reflective vinyl you are using, as application techniques can vary slightly depending on the brand. Additionally, ensure you are working in a clean and well-ventilated area for optimal results.
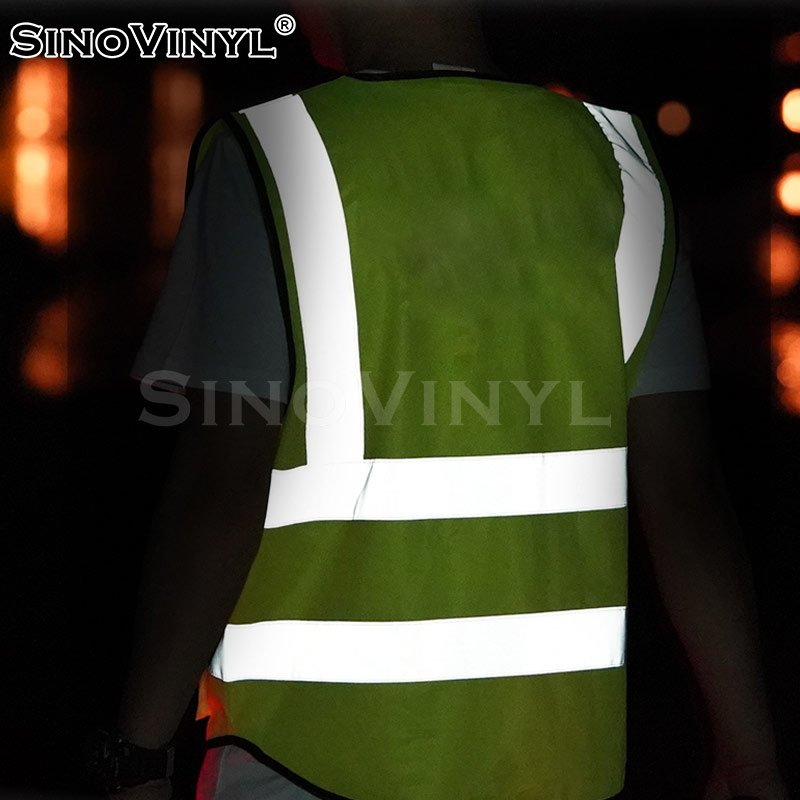
Enhancing Safety with Silver Reflective Vinyl: Applications in Traffic and Road Signs
- Highway Signage: Silver reflective vinyl is commonly used for highway signs to enhance visibility, ensuring drivers can read important information even in low-light conditions.
- Road Markings: Silver reflective vinyl is applied to road markings such as lane dividers, center lines, and crosswalks, increasing their visibility at night and during adverse weather conditions.
- Construction Zones: Temporary traffic signs and barricades in construction zones often feature silver reflective vinyl, alerting drivers to potential hazards and ensuring their safety.
- Warning Signs: Important warning signs, such as those indicating curves, intersections, or pedestrian crossings, are often made more conspicuous and visible using silver reflective vinyl.
- Speed Limit Signs: Enhancing speed limit signs with silver reflective vinyl ensures that drivers can clearly see and adhere to the designated speed limits, even in low-light situations.
- School Zone Signs: School zone signs, including those indicating speed limits and pedestrian crossings, are commonly outfitted with silver reflective vinyl to prioritize the safety of children.
- Parking Lot Markings: Silver reflective vinyl is utilized in parking lots to mark spaces, lanes, and directional arrows, ensuring drivers can navigate safely, especially during nighttime hours.
- Roadside Emergency Signs: Signs indicating emergency phone numbers, service areas, or exits along highways benefit from silver reflective vinyl, allowing drivers to locate and access assistance quickly.
- Railroad Crossings: Silver reflective vinyl enhances the visibility of signs and markings at railroad crossings, alerting drivers to stop, look, and listen for oncoming trains.
- Intersection Safety: Silver reflective vinyl is used on signs and pavement markings at intersections, improving visibility and reducing the risk of accidents at these critical points on the road.
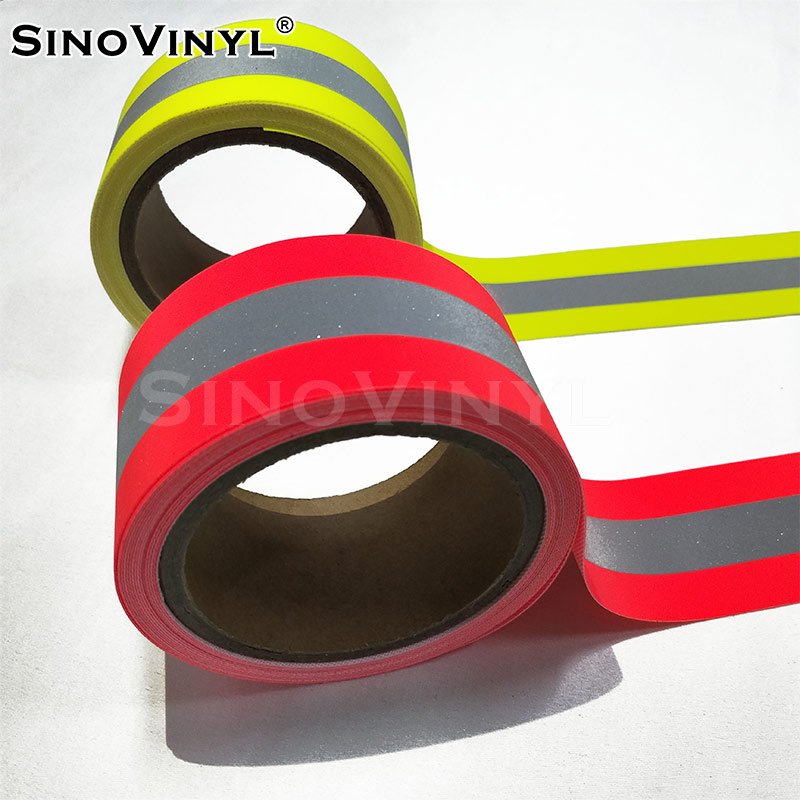
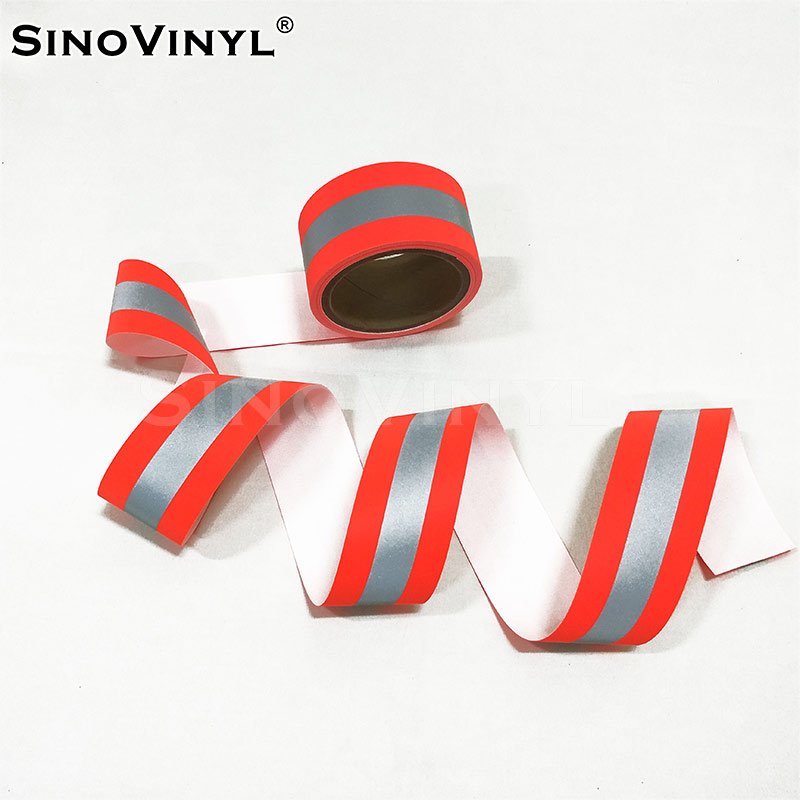
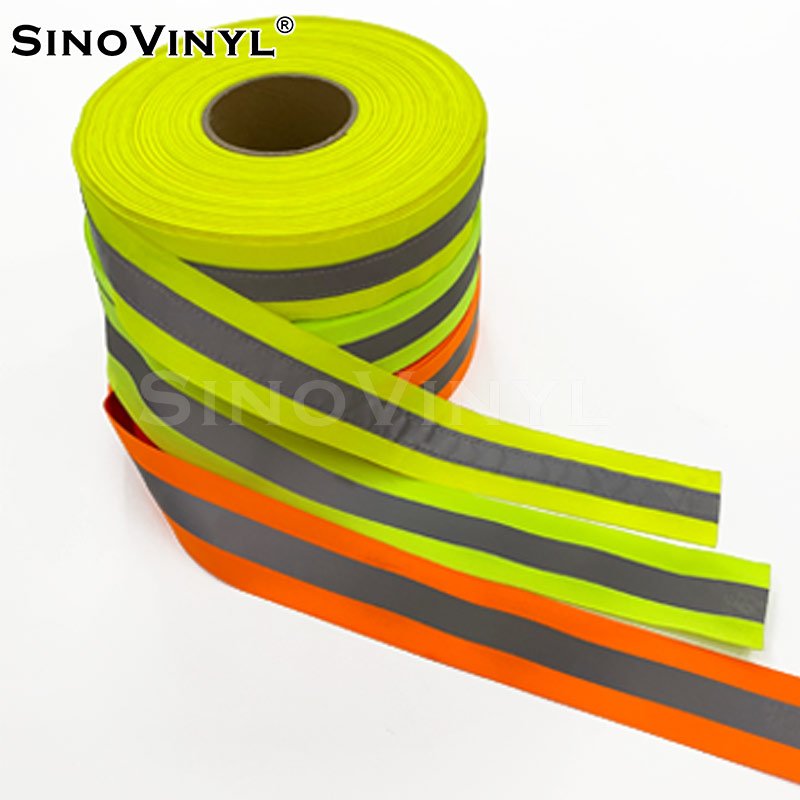
Final Words
In conclusion, silver reflective vinyl emerges as the ultimate solution, seamlessly blending safety and style. Its remarkable ability to enhance visibility in low-light conditions and adverse weather ensures that important signs and markings stand out, keeping drivers and pedestrians safe on the roads. Furthermore, its versatility opens up a world of creative possibilities, allowing designers to infuse a touch of brilliance into their projects. Whether it’s highway signage, road markings, or fashion-forward apparel, silver reflective vinyl proves to be a game-changer. Embrace this remarkable material and unlock its potential to illuminate your surroundings, captivate attention, and elevate both safety and style to new heights.


